
Tuesday, October 11, 2011
Monday, October 10, 2011
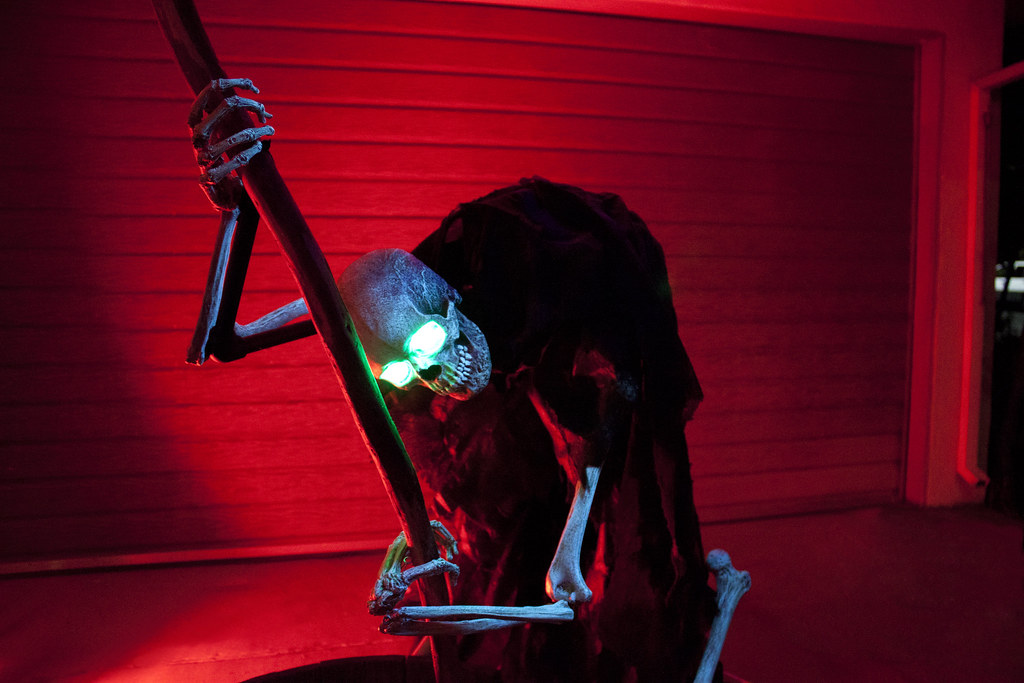
Like a red moon rising in the dark Autumn night, The Boogey Man cometh..
I am sick as a dog but I can't wait until tomorrow to show you this.

Cauldron Creep has been reborn. He ships tomorrow.
More pics tomorrow.

Cauldron Creep has been reborn. He ships tomorrow.
More pics tomorrow.
Friday, July 15, 2011
Tuesday, July 12, 2011
Cauldron Creep 2.0

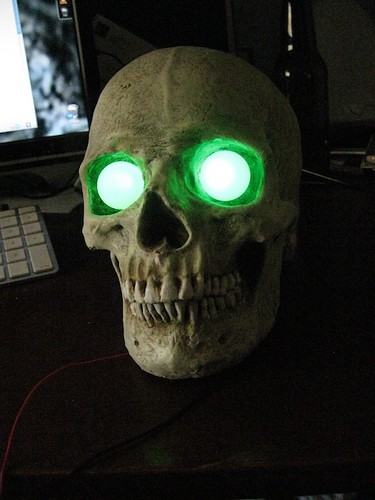
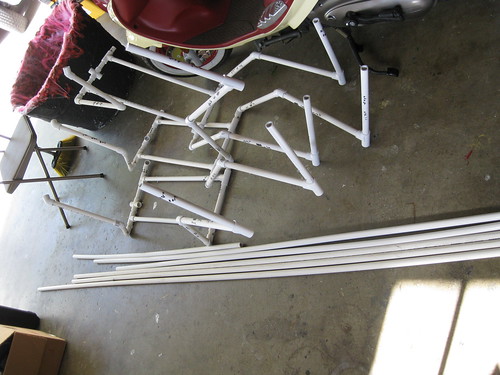
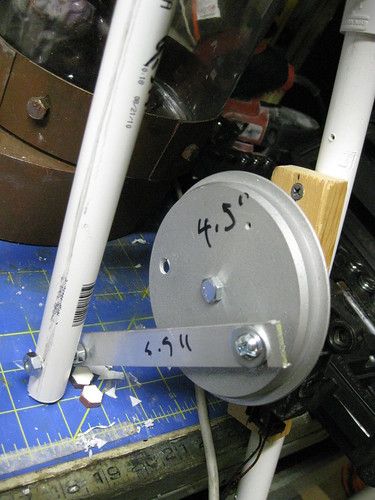
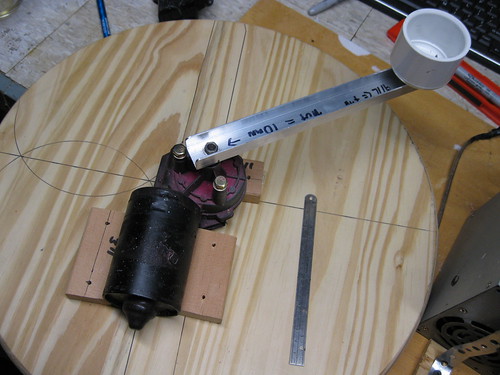
After three years of wear, tear, and disrepair Cauldron Creep is getting rebuilt. In honor of the original creep I tore him limb from limb and measured each part of him. I am using the same 1/2" PVC frame, same dimensions, and the same motors. The improvements include updating the mechanism for his head movement into a more compact design, new skull mold, 2-part urethane foam bones cloned from a blucky, a new cauldron, new ribs, new hunch back design, and a Pacemaker controller from MonsterGuts.
I'll be posting some sneak peaks and build photos on here over the next few weeks. This project will generate more mold making tutorials (which have been put on hold by OT at work and building this guy). At the end I'll have three Cauldron Creeps. One for me, one for a client, and one for I dunno. Maybe he'll be for sale, maybe a fundraiser, maybe you can win him, maybe he'll be donated but either of those will see at least 50% of the proceeds go to charity.
Also there will be a definitive cauldron creep how-to with exact measurements, parts list, and a video. I am thinking of releasing this as a DVD for $15 and also as a kit with DVD (price to be determined). If you like either of these ideas please comment. Our haunt has fallen on hard times and due to lack of funding and we will not have much of an upgrade from last year's haunt. If you know our haunt then you know we'll work 6 months making everything from scratch to blow your socks off.
Here is a little peek at what I have got going so far:
Keep an eye on this blog because the Cauldron Creep 2.0 is going to be awesome.
Try his for your next drink and think: Lagunitas Undercover Investigation Shut Down Ale
Monday, May 9, 2011
Mold-Making Theory: Is It Hard or Is It Soft?
The first step in any mold-making project is to consider what you want your cast item to be used for. Do you want a solid skull as a base for building up a zombie face with clay and maché? Maybe you want a squishy dismembered hand that looks and feels lifelike. You have to consider what you want your casting to be. You will have to build your mold to the casting material you want to use. This is not absolute, but generally you won't be able to make a hard casting and a soft casting from the same mold. There are ways to try to game the system, but they are compromises to quality and/or ease of use.
Hard molds make soft castings ∞ Soft molds make hard castings
If you want to make a hard, bone-like skull, you will need a soft, flesh-like mold. Inversely, if you want to make a soft, flesh-like hand, you will need to make a hard mold.
Why?
Friction. Why does friction matter?
When you pour casting material into a mold, you are making a copy of that mold right down to the molecular level. The casting material and the mold have no space between them. If you hadn't used a release agent, they might have even fused together chemically to become one piece.
These parts want to hold onto each other. Imagine you are climbing a rock wall and your hand melts to perfectly fit and grab each rock as you grab it. The mold has the perfect grip on the casting and will not let go if they are made of materials that are too similar in density. The reason you use a hard mold for a soft casting and a soft mold for a hard casting is so that one can give. You need that give to be able to work the casting free from the mold—to peel it away or wiggle it free.
Like I said earlier, there are ways to try to game the system. You could use a "soft" mold that is still harder than the material used for casting. However, as their shore hardness gets closer to one another, it will be hard to separate the casting from the mold without either getting a friction lock or damaging the mold or casting while trying to pry a casting out of a mold so soft you can't get any real leverage to pry the two apart.
Another solution is to increase the complexity of the mold by making extra parts. Instead of having two halves you could have three sections. Or you can break down the original item into smaller pieces and make a series of smaller more simplified molds. While this may solve one problem, it creates others. It slows down your production and your castings now require assembly.
In the next installment of Mold Theory I'll talk about mold making materials that work best for haunting.
I can only promise you 2.
I am the laziest blogger ever. It's ok because I am just using this free blog as a free webpage. I'm gaming the system. I'm stealing bread from Google's table and I am ok with that. I don't post very often. I don't think of this as a news site, but as a depository. A library of my How-To contributions to home haunting.
So let's just get right to it. Last year I promised all kinds of how-tos and I didn't deliver. I changed themes on my haunt and it took way more work than I estimated. I did get up two how-tos but so what? Who cares?
So. I am going to be frugal in my promises this year and say I only have two. Two how-tos. They have been filmed. One is 95% done and one needs editing and voiceovers. If I do three I'll feel awesome.
The first how-tos are both about mold making. One is pretty elaborate. So much so that instead of making it 20 pages long I am going to preface it with some mold making theory. Watch for these to start rolling out in the next day or so.
I'm decompressing from the National Haunters Convention right now. I'll see ya soon.
- DC
Subscribe to:
Posts (Atom)


