

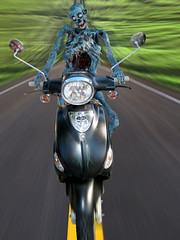
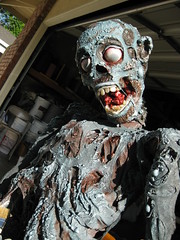
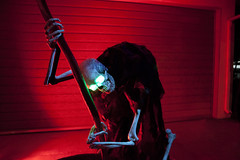
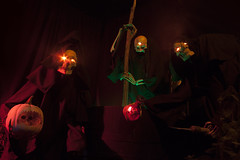
This is the Wacky Zombie, aka. the "Wheel Barrow Zombie". I built this for a friend who wanted a fun looking corpse who would be getting wheeled back to the grave from whence he came. He wanted to be able to pose the legs and wanted the arms to be marionette style, since he plans on making a little video clip of him to go in the haunt. Oh yeah he needed to be blue.
Building the Head
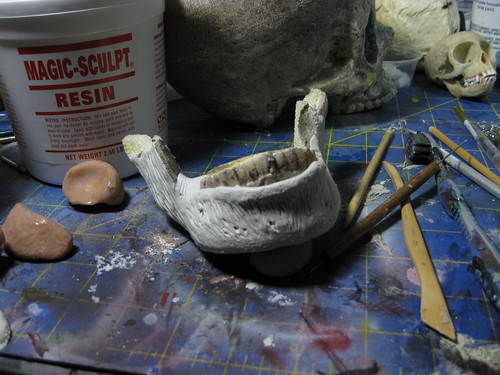
I had a bunch of foam castings of a bucky skull with the jaw attached from last year that were kinda last minute filler props, so I decided to recycle one. For this project, you can use any skull you might have. If you have a two-peice skull with the separate jaw you gold, if your like me, you have to cut the jaw off.
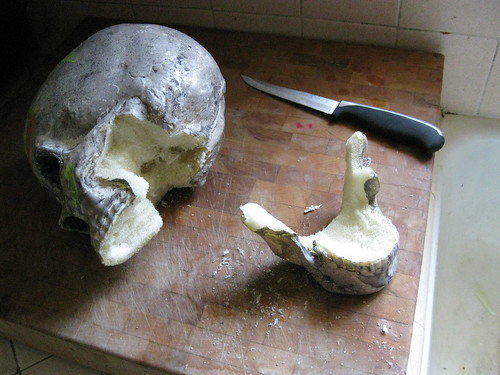
I have carved out the jaw part after removing it from the skull to give it a more realistic shape.
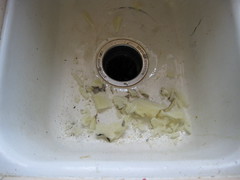
Word to the wise, some foam can make a huge mess (plus urethans foam is toxic). I carve it over the sink, and then wash the nasty dust down the drain after I pull out the big chunks.
Now is the time to build up the inside of the mouth with clay, before you put the face together. I made a soft pallete, a tongue, and sculpted the outside skin while I was at it. You'll see the teeth from the foam skull are still in this shot, but I took them out later, but you should go ahead and cut out the front 6 teeth or so. We are going replace them later with some hand made sculpey teeth. I sculpted this with Magic Sculpt (very much like Apoxie Sculpt), which is a slow drying epoxy putty that you can sculpt and smooth with water. It smells pleasant and dries hard in about 3 hours. If you want to use Creative Paperclay, that will work nicely too.
The Teeth
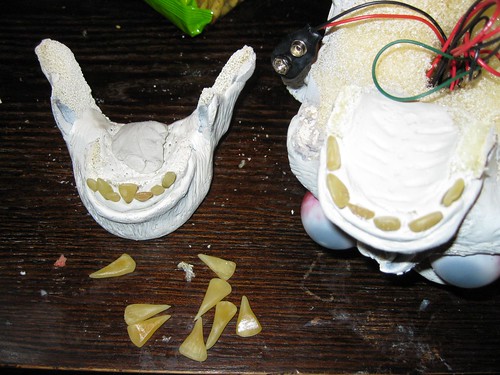
The teeth are made from Fimo Polymer Clay colors Translucent White and Yellow, which by the way are UV reactive. Making the teeth is very simple. Mix the White Translucent Fimo with the Yellow fimo to a ratio of about 10:1. Mix it together good or you will have swirly teeth patterns.
Now take a small piece and roll it out like this into a fat worm. To taper the Fimo, just roll out the edges with your fingers.

Then cut the little worm in half. You'll see how that tend to flatten the edge. Press that edge down of your tool didn't flatten it enough as you cut it. Then just make 3 or 4 vertical lines running down one side of the tooth and thats it. Bake these at 200° for 15 minutes. That's less than what the Fimo packaging will say, but these will be so thin it becomes easy to burn them, so we are going to cook them low n slow.

The Eyes
This guy has some custom eyeballs.

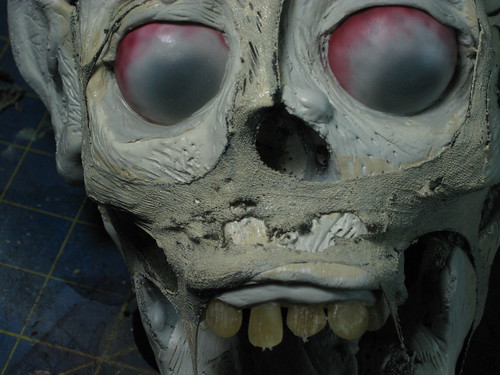
You can see then with the lights on, but when they are lit up in the dark they aren't too opaque that they are dark or look uneven. That because these are painted with an airbrush just dark enough to be see in light, but not so dark as to blot out the LEDs, or to create a giant iris as you might get with eyeballs painted with a brush. You can get the same effect using s airbrush, but you need to use translucent paint for the iris and keep your brush strokes very consistent.
I used these eyeballs that you can find in the stores around halloween as a party favor. They are too big for realistically proportioned eyes, but are good for an over the top theatrical look. I have just wet sanded the paint of with 600 grit wet/dry sandpaper. The sanding gives you a good surface to paint on as opposed the eyeballs very shiny finish.

I have drilled a whole straight back into each of the eye sockets, and then a hole straight up from where the spine would connect. I threaded the wire thru and have solders in the two ultra bright white LEDs. You can see I have some plumber's epoxy ( or JB Weld).
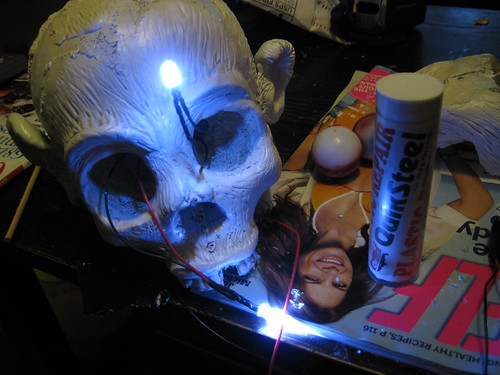
You can see there is a wad of plumbers epoxy I have wrapped around the wire. This is going to hold the LEDs in place so that they point straight out of the eye socket to evenly illuminate the eyeball, and will prevent them from slipping backwards into the head.

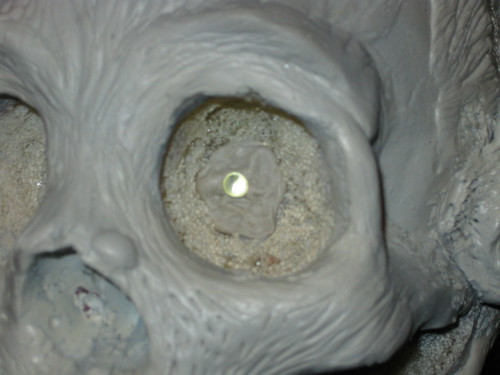
Heres what it looks like when its done. Nice and neat, properly seated and secure.
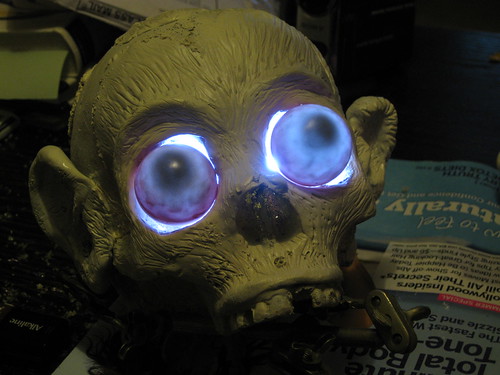
Here you can see that his eyes are lit evenly and bright, but you can still see the eye detail.
Sculpting and Corpsing the Face
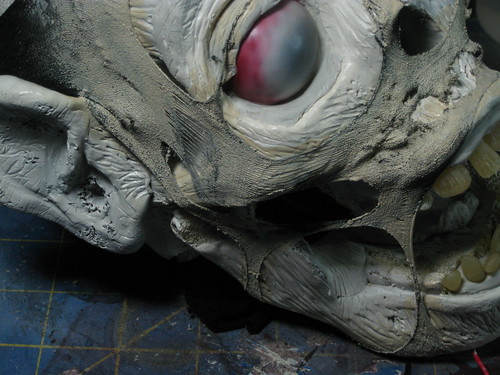
I have skinned the face with Magic Sculpt, built up some eyebrows, added some rotten patches of skin on the top of the skull, and added some warts and such. Mostly I have tried to make a muscle pattern with lines following the contours of the face. In some place I have added some holes and wrinkles to break it up and look more rotten.
I made the ears with a different material called Super Sculpey Firm. I used the firm sculpey because It is much stiffer and will hold its shape in my warm Southern California apartment. At first I made ears that were symmetrical, but it made my zombie look like a chimp, so I re-did one ear to look shriveled like a dried apricot.

Here I got carried away and forgot to snap a few pictures. I have installed the eyeballs, and make eyelids out of Magic Sculpt to hold them in and seal off any stray light form the LEDs.
I have taken an old stock and pulled it over the head. I pulled it tight and cut off the excess stocking, then went and pinched little bits of fabric and cut them off which made all the little holes.

I painted the stocking white with thick acrylic (you can use latex, or latex paint too) which made it much heavier and sturdy, and also acts like a glue to hold the stocking in place.

After the paint dried, I took a awl like tool and pulled apart some of the fabric to add smaller details to the stocking.
Then I smeared on some Greatstuff with a folded up piece of newspaper (why waste a brush?). This gives it a thinner coating and make smaller and more varied bumps.


Lovely zombie you have there! Great attention to details like the teeth. I love the stocking technique. Have you found a way to keep the Greatstuff can from sealing itself after one use?
ReplyDelete